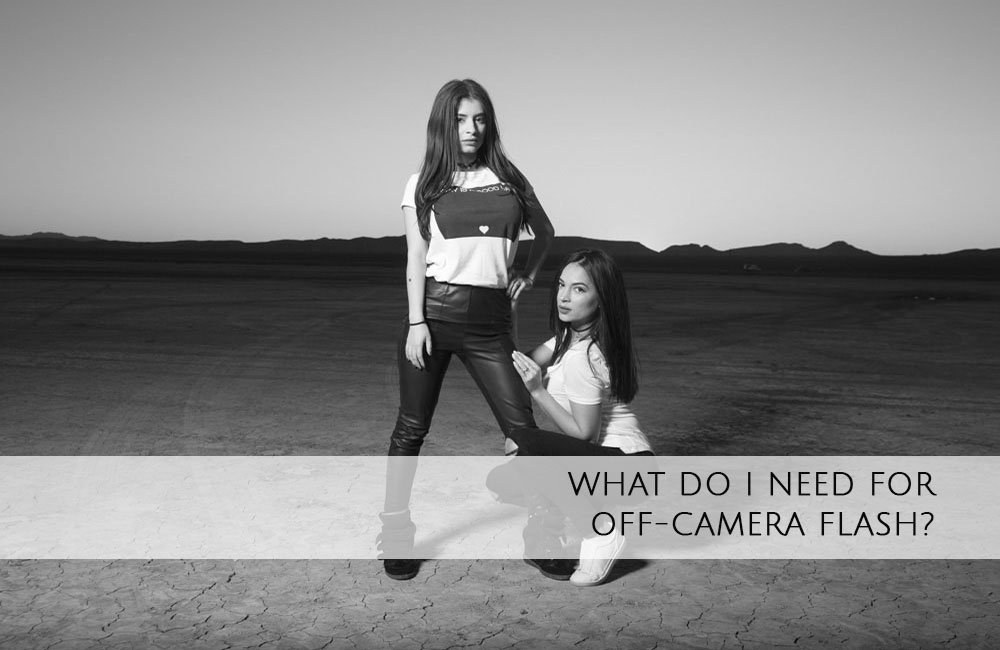
Off-camera flash is so much fun to play with! Tonight I will be hosting 5 photographers and teaching them how to use the gear that they have for off camera flash. This technique is an amazing tool to use when shooting portraits. It lets you control the light instead of the light controlling you. This guide will help you understand some of the basic gear needed. I will be covering the technique in another blog post after I see what questions are asked tonight! If you are interested in upcoming workshops let me know, I will be doing more soon!
So what do you need to start shooting off camera flash? The first thing you need is a DSLR camera with a hot shoe mount. That is the little metal tabs on the top of the camera. This is where you will put a flash or a trigger for other flashes. First up, what kind of flash do I want?
1. LIGHTING
There are two types of lights that you can use for off camera flash. There are speedlights and there are strobes.
SPEEDLIGHTS
These are the lighter, more easily portable light to use for going on location. Each camera manufacturer makes their own versions of these as well as third party companies such as Yongnuo. The third party versions are much less money and I would recommend them to anyone just starting out on a budget. I am a Canon shooter and Yongnuo makes their speedlights with the setup, buttons, and functions identical to the canon counterparts so it will be easy to switch between third party and the original manufacturer. These can be fired wirelessly though a cold shoe as well as on top of the camera on the hot shoe. You can get lots of lighting modifiers for these too. The only drawbacks are that they are significantly weaker than strobes , have a slower recycle time (when they are used at full power it takes them a few seconds until they are ready to fire again), and they go through lots of AA batteries. Invest in some good rechargeable batteries and you’re golden. I use the Panasonic Eneloop Pro version and have been very happy with them!
STUDIO STROBES
These are the superpower when it comes to off camera flash. They require AC power (some manufacturers have portable battery supplies like the Paul C. Buff Vagabond) or some have built in batteries like the Godox AD600 that boast 500 full power flashes with a really quick recycle rate. They also have a modeling light so you can see the quality of light and lighting pattern on your subject before you pop off the flash. They get pretty hot and they have a fan that helps them not overheat, so that makes a bit of noise when it turns on. This isn’t a huge disadvantage for me unless I am using my strobe’s modeling light to shoot a video. They are less portable and more expensive especially including the lighting modifiers and battery supply but they can overpower the sun easily, so depending on what you need them for and how much money you want to spend. 🙂
My friends over at Improve Photography did a great video and blog about the difference. Check it out here!
2. REMOTE TRIGGERS
For off camera flash, you have a few options on how to fire your lights. You can use a sync cord, which is just a cord that goes from your camera to your flash unit (this doesn’t work well for me because I am clumsy and trip over things easily), as well as this hinders the distance you can place your flash away from the camera.
You can get wireless remote triggers, which you attach one to your camera hot shoe and then one to your flash unit and it send the signal when you hit the shutter to pop the flash. These can be cheap or expensive. My favorite remote triggers are Pocket Wizards. They are beasts and I feel like they never fail me. They are more expensive, but they are super reliable. TIP: because again, I drop things, I put a piece of velcro on each one of my triggers and each one of my flash units so I can easily attach them to each other without having to worry about them falling. There is also a little unit (pictured on the right above) That goes on your hot shoe and with this unit, you can control multiple speedlights independently. This lets you change the power settings individually! Here is a link to the yongnuo version. Hundreds of dollars less than Canon, but still works well! You can also power other speedlights optically by having a speedlight on your camera and having another in range to be picked up as a slave to go off when the one on top of your camera does.
3. WHERE TO PUT YOUR LIGHT
There are a few options here, most popular of which is using light stands. TIP: If it is windy you should bring sandbags to weigh down your stands so that you don’t break your flash. Lightstands come in many sizes and price ranges. There are also ones with boom arms so that you can get the light above your subject without getting the light stand in the way of your shot. You can also put your light on a boom arm and have an assistant hold it where you want it. Most speedlights come with a little plastic base that you can use to set your light on the ground too! Strobes come with a built in base that sits on a light stand. Speedlight you have to get a part that adapts it to fit onto a light stand. The most hand of these also have a spot to stick an umbrella through. More on umbrellas in a bit! There are also brackets that can hold more than one flash to make your output greater
4. LIGHTING MODIFIERS
We all know that the sun at high noon creates harsh shadown on our subjects. The same is true of a bare strobe flash or bare speedlight. To fix this there are multiple tools we can use.
UMBRELLAS
These are the easiest and portable lighting modifier. There are shoot through umbrellas as well as ones that have a reflective inside and bounce light back onto your subject. To use these with speed lights, you can get an adapter like the one mentioned above. Most strobes have an area to attach an umbrella built into the design. Gold is for reflecting a warm golden light, silver is for a cool light, and the shoot through umbrella is a diffuser.
MAGMOD
This is my favorite lighting modifier for my speed light. The Magmod has a stretchy base that has rare earth magnets in it that you can easily pop different lighting modifiers onto in less than a second. I use the bulbous diffuser one the most, but I also have one that bounces a ton of light which is great for groups at night, and a grid with colored gels that I can use to focus and mood the lighting. They have a few more options as well for other types of photography.
SOFTBOXES
These take a little bit of time to setup because they break down so they are easy to take with you. They come in many sizes and shapes and utilize the same adapter as umbrellas for using them on light stands with speedlights. They make your light source bigger which makes it softer and depending on how far away from the subject you place it, lights them more evenly.
Here is a great article comparing different softboxes and umbrellas!
GELS
Want to bring some color into your image? You can use gels to make your image more moody, to match the ambient light, or just for fun! There are multiple ways to attach them. The magmod that has custom sized gels for their holder. Rogue sells a set of the gels with a rubber “band” to hold them on. If you get one set of 12″x12″ gels you can use them for your strobes and speedlights so you don’t have to but more than one set. Regular rubberbands work wonders!
If you think I missed anything, please comment below! So much information on this subject, I hope I gave you some useful tips!












Recent Posts
Watch Me Edit This Headshot in Photoshop
What Happens When You Invest In Yourself?
My Top 6 Podcasts for Business Owners